
The Chuckie Finster cosplay tutorial is COMPLETE!
For this tutorial, you will need:

- Blue T-shirt
- T-shirt board
- Paint Brushes
- White, Black, Red, and Yellow fabric paint (acrylic paint works too)
- Fine point Sharpie
- Some large round object for tracing
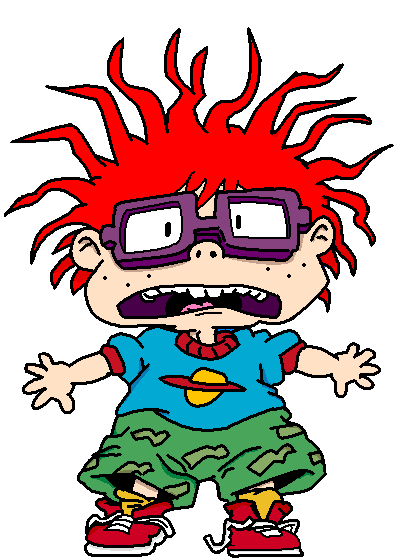
- Reference picture of Chuckie's shirt

READY?! LETS DO THIS!!

Step One:
Place your shirt on the T-Shirt board and pin the sides down so the shirt lies taunt against the board. This is super important, so when you're painting, the shirt doesn't move and make you mess up your lines.

Now, you need to draw Chuckie's iconic planet. Find something 5-6 inches in diameter that you can trace around. For me, I just used my dinner of instant noodles. When you trace, make sure you're using a FINE TIP Sharpie or pencil. The planet on Chuckie's shirt is kinda sloppy and looks like a kid drew it, so we're just using this as a basic outline, to help keep it even on all sides.

As for the ring around the planet, just free-hand it. Now, that might sound a little scary, but it's easier than it sounds. REMEMBER, it's suppose to look like a child's drawing, so if you're not the most artistic person in the world, IT'S OK! Just look at the reference picture as you draw it and you'll be fine!
Step Three:
YAY FOR PAINTING! Alright guys and gals, since we're painting on a dark shirt with light colors, we need to PRIME the space. I've painted PLENTY of shirts in my time to have learned this lesson the hard way. Basically, we just need to paint the whole planet white. It'll cover up your lines, but don't panic! These lines were just a guide. As the last step, we'll outline everything again with black, to give it that extra cartoony effect!


Step Four:
Once the entire planet is primed white, we can add color. I start with lightest colors first, mainly out of habit. This part is pretty self explanatory, just paint the two colors over the white. But remember! Between each layer of paint, you need to let the paint dry, and occasionally, GENTLY, lift the shirt from the board. (The paint seeps through the cloth and when it dries, the shirt will stick to the board. To prevent that, we need to gently separate the shirt from the board from time to time).


Step Five:
The last step is to outline the planet with black paint. DON'T WORRY about trying to have a steady hand! It's OK if it looks a little wonky and wobbly. IT'S A CARTOON, it doesn't need to look perfect!

Now from here, I think I might be done...but looking at Chuckie's picture, His shirt is trimmed with red on the collar and sleeves. It's up to you on how you'd like to accomplish this! I think I might just paint the trim.
But as of now, I'm happy with how it turned out! I've got time to figure out how I want to do the trim though. Our plans for the Con in February fell through, but Aaron and I are looking into A-Kon in June for my birthday! FINGERS CROSSED that works out, because I'd LOVE to wear this in the summer rather than winter :P


SORRY FOR THE MESSY DORM ROOM!! I decided to work on this rather than unpack. TOTALLY worth it! ;D
Well, I hope this tutorial was worth the wait! I'm really excited with how it turned out!! If you've got any comments or questions, don't be afraid to leave a note down below!
No comments:
Post a Comment